Blog

Creating New Styles That Will Go On For Generations

Does your idea of photography still include the wind-up disposable cameras at summer camp? Would you consider your experience taking selfies to be the bulk of your photography skills? Well, you’ve come to the right spot!

1.Use a tripod

Tripods might sound like a nerdy, unnecessary piece of technical equipment, but they make a huge difference in the clarity and quality of your product photography. And they are not necessarily expensive or difficult to use!

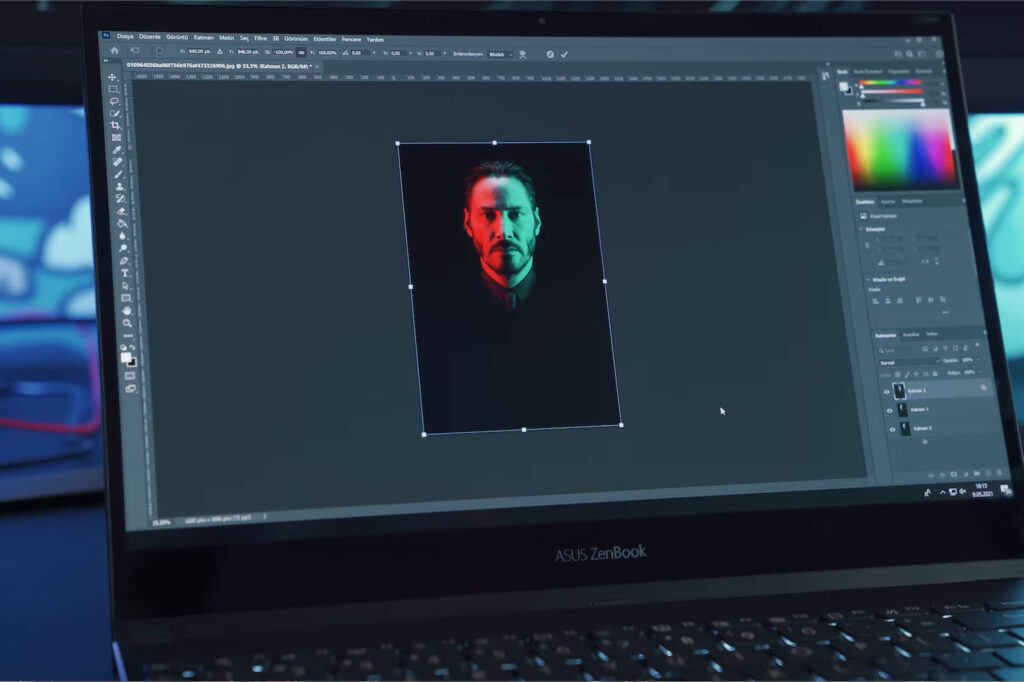
2.Take a basic photo editing class

While editing should be minimal in most cases, it’s still a necessary skill to have in your product photography handbook. Making some small edits – like tweaking the saturation or even masking small flaws within your product photograph – can make a real difference to the finished product.
3.Fill or bounce your light to soften shadows.

Whether you use natural light or artificial light, you’ll need to lessen the shadows that any potential hard light casts on the opposite end of a product.

4.Unique Perspective

Sometimes I find an interesting subject, but just not an interesting place to photograph it from.  If you look at professional photos, they are very often taken from non-obvious spots.  For example, a photo of a CEO will be photographed from down low, looking up at the person to make him or her look more powerful.  Or, in the case of photographing a city, we often want to get to a very high perspective to shoot down and see the whole city.

5.Use a sweep or portrait mode to emphasize the product.

There isn’t one right way to position your product, lights, and bounce cards – they can change dramatically depending on your background. But don’t choose a background based on what’s easiest to create. Backgrounds should resemble how you want your buyers to perceive your product when viewing it online.
Experience and Express Creativity Through Various Mediums

Does your idea of photography still include the wind-up disposable cameras at summer camp? Would you consider your experience taking selfies to be the bulk of your photography skills? Well, you’ve come to the right spot!

1.Use a tripod

Tripods might sound like a nerdy, unnecessary piece of technical equipment, but they make a huge difference in the clarity and quality of your product photography. And they are not necessarily expensive or difficult to use!

2.Take a basic photo editing class

While editing should be minimal in most cases, it’s still a necessary skill to have in your product photography handbook. Making some small edits – like tweaking the saturation or even masking small flaws within your product photograph – can make a real difference to the finished product.

3.Fill or bounce your light to soften shadows.

Whether you use natural light or artificial light, you’ll need to lessen the shadows that any potential hard light casts on the opposite end of a product.

4.Unique Perspective

Sometimes I find an interesting subject, but just not an interesting place to photograph it from.  If you look at professional photos, they are very often taken from non-obvious spots.  For example, a photo of a CEO will be photographed from down low, looking up at the person to make him or her look more powerful.  Or, in the case of photographing a city, we often want to get to a very high perspective to shoot down and see the whole city.

5.Use a sweep or portrait mode to emphasize the product.

There isn’t one right way to position your product, lights, and bounce cards – they can change dramatically depending on your background. But don’t choose a background based on what’s easiest to create. Backgrounds should resemble how you want your buyers to perceive your product when viewing it online.

Product Photography Tips to Make You Look Like a Pro

Does your idea of photography still include the wind-up disposable cameras at summer camp? Would you consider your experience taking selfies to be the bulk of your photography skills? Well, you’ve come to the right spot!

1.Use a tripod

Tripods might sound like a nerdy, unnecessary piece of technical equipment, but they make a huge difference in the clarity and quality of your product photography. And they are not necessarily expensive or difficult to use!

2.Take a basic photo editing class

While editing should be minimal in most cases, it’s still a necessary skill to have in your product photography handbook. Making some small edits – like tweaking the saturation or even masking small flaws within your product photograph – can make a real difference to the finished product.

3.Fill or bounce your light to soften shadows.

Whether you use natural light or artificial light, you’ll need to lessen the shadows that any potential hard light casts on the opposite end of a product.

4.Unique Perspective

Sometimes I find an interesting subject, but just not an interesting place to photograph it from.  If you look at professional photos, they are very often taken from non-obvious spots.  For example, a photo of a CEO will be photographed from down low, looking up at the person to make him or her look more powerful.  Or, in the case of photographing a city, we often want to get to a very high perspective to shoot down and see the whole city.

5.Use a sweep or portrait mode to emphasize the product.

There isn’t one right way to position your product, lights, and bounce cards – they can change dramatically depending on your background. But don’t choose a background based on what’s easiest to create. Backgrounds should resemble how you want your buyers to perceive your product when viewing it online.

The 10 most interesting exhibitions to visit in 2023

Welcome to WordPr

Does your idea of photography still include the wind-up disposable cameras at summer camp? Would you consider your experience taking selfies to be the bulk of your photography skills? Well, you’ve come to the right spot!

1.Use a tripod

Tripods might sound like a nerdy, unnecessary piece of technical equipment, but they make a huge difference in the clarity and quality of your product photography. And they are not necessarily expensive or difficult to use!

2.Take a basic photo editing class

While editing should be minimal in most cases, it’s still a necessary skill to have in your product photography handbook. Making some small edits – like tweaking the saturation or even masking small flaws within your product photograph – can make a real difference to the finished product.

3.Fill or bounce your light to soften shadows.

Whether you use natural light or artificial light, you’ll need to lessen the shadows that any potential hard light casts on the opposite end of a product.

4.Unique Perspective

Sometimes I find an interesting subject, but just not an interesting place to photograph it from.  If you look at professional photos, they are very often taken from non-obvious spots.  For example, a photo of a CEO will be photographed from down low, looking up at the person to make him or her look more powerful.  Or, in the case of photographing a city, we often want to get to a very high perspective to shoot down and see the whole city.

5.Use a sweep or portrait mode to emphasize the product.

There isn’t one right way to position your product, lights, and bounce cards – they can change dramatically depending on your background. But don’t choose a background based on what’s easiest to create. Backgrounds should resemble how you want your buyers to perceive your product when viewing it online.

ess. This is your first post. Edit or delete it, then start writing!